Baby Shower: April 2011

10.14.2010

It seems like these celebrations were yesterday...

Looking back at all of these old events that I have planned brings back such good memories. I had such a good experience in high school. Good friends, great teachers, and I have always been a family person. Senior year was filled with so many celebrations. Senior year party, winterball, senior sendoff, my graduation party, and my farewell dinner. This first event shown here was 'Senior Sendoff' also known as baccalaureate. For some reason the school made us change the name so we came up with Senior Sendoff. It was held at Steel House Restaurant in Kingston, N.Y. Our budget was very low; our class was to pay for each student while parents had to pay per head. Because of the low budget, my fellow officers and myself (I was co-secretary), went out into the fields of Rhinebeck and picked our own flowers. Hundreds of daisies, black eyed Susans, grasses, and wild rose bush branches. To supplement these flowers we purchased a few purple flowers. Rhinebeck school colors are gold and purple so with the purple flowers that we bought and the yellow blacked eyed Susans, we were able to incorporate the colors we sported throughout our education. I also made special candle holders. You simply take soda cans, cut of the top, cut down the sides of the can and roll each section out so that the name and display of the can disappears. Even though there were tears of joy about graduating, tears of sadness of the thought of leaving friends and family, the evening was a giant success. Everyone enjoyed themselves.
Invitation, Handmade. The Graduation cap was embossed onto each invite with gold embossing powder

         
Large floral pieces. This was my first time working with floral foam...I now know how to properly use it (hehe)

Overall table look. Each table had different flowers because we didn't have enough vases that were all the same.
Another table, different floral arrangement
This is a close up of the details. The candle holder is the soda can and the graduation cap is a welcome/thank you to parents and faculty.


This next event was only a few weeks after the senior sendoff. It was my graduation party where all my family, friends and a few of my teachers celebrated. My favorite type of food is Italian/Mediterranean so why not through a Mediterranean Evening? The colors were crisp white and cool blue. On the invitations I had simple line fish that were wearing graduation caps. I requested that my grandfather cut some of his grape vine and tie it to the edge of the tent which came out great. However, because of the heat they wilted quickly. Dinner consisted of typical hot dogs and hamburgers but was accompanied by Italian and Greek dishes. I had such a wonderful time, celebrating the end of highschool and the start of the next step in my life.
Cheese, meat and bread bar

This table had my graduation picture, diploma, awards, and this wonderful picture of my classmates and me throwing up our caps! (I also painted this table!)

Welcome sign designed and painted by myself, created by my grandfather

It was hot and windy that day. In this picture you can see the grape leaf detail
Centerpieces


Lettuce cups. They had all the vegetables inside, all the guests had to do was choose which salad dressing they wanted

The bar, however a drink spilled on it almost immediatley

Invitation


The next event was my farewell dinner. I invited my close friends to my house for a last goodbye before everyone left for college. I strategically planned the day so that it was about a week before everyone had to leave. The invitation was extremely special. Over the years I had video taped school events, parties, and just us being silly. So the invitation consisted of bits and pieces of all of these events in order starting from our preschool graduation ending with our Highschool graduation. At the very end it was me inviting everyone to my house for dinner. The table was set of the floor and raised up with bricks. All my guests sat on pillows as we dug into Chinese food from a local Chinese restaurant. The center of the table was also risen and had candles placed all the way down. At the head of the table were photo albums for everyone to enjoy and reminisce.

This was the outside of the invitation, the DVD was wrapped up inside of it

When you opened it this is what you saw

Overall table

Each setting received chop sticks. Also underneath the clear plate I had white pieces of paper with this Chinese word embossed on it. The word says 'love'

A view at night with the lanterns lit up

I added these tall vases with gladiolas in them. One of my favorite flowers


Head of the table with the photo albums

10.07.2010

More Past Events

 So back to the past. There are many more events that I still need to post. Tonight I thought I'd add a few more. First is Winterball 2005. I had this awesome idea of doing a winter wonderland, whites and blues, glitter, snow and turn it into a whimsical room. The one problem I had was selling my high school on 1) changing the location from a church hall where winterball took place EVERY year to another hall where 2)we would also have a full buffet dinner. In the past there was no food at winterball only snacky foods. Well the school liked the idea so I proceeded with my many decorating ideas. First, the invitations were created and I loved the way they came out. Blue snow flakes on white card stock topped with clear vellum that had the writing on them. The vellum was attached with white glitter glue. For the centrepieces my best friend and I cut down tree branches and spray painted them white with glitter. Last minute we decided to hang candy canes on the branches so that our fellow students could take them off and eat them as the night went by. Though all of these ideas were imagined to create the ultimate wonderland, a few weeks before the winterball  I went to look at the room again and the owners had hung up red, green and gold Christmas decorations! OH NO I thought! I was so mad I immediately asked them if they could take them down but they said no. So what was I suppose to do..? Make it work!
Invitation
These were the menus for the table. We made a couple for each table and layed them around
View of half the room
Winter Tree
Another winter tree

The next event I did was my first baby shower! I was soooooo excited to do this, that I believe I went a little bit over board. Instead of using real flowers I chose silk ones. Typically I am strongly, strongggllllyyyy, against silk flowers but I had to urge to use them for this shower. I found these foam topiarys in Joann Fabrics and the silk flowers were from Michael's Craft Stores. After multiple trips to Michael's, I finally had enough flowers to complete 10 topiarys. For the invitations, I wanted something special and memorable. I used the baby's sonogram pictures, photocopied it, and used it as the back ground. I placed the sonogram on a piece of card stock using clear corners, this way the guests could take the picture out and keep it. For favors, we filled mini bottles with baby lotion. The top part of the bottom had a hole in it (like a real bottle), so guests could squeeze the cream out when needed. Also for the menu I wanted to have it typed on a 'baby' and the 'welcome'  be on a diaper that was on the baby.

Center pieces, Guests were able to take home. Mommy to be was able to put one in the nursery and now the baby has it!

View of the room

Close up of table setting

Invitation

Baby menu, and favor in the top left corner

9.25.2010

Sophia's Rocking Chair

What do you buy a 3 year old for her birthday? Barbies? Clothes? All of these are great ideas but I like to give something more meaningful. In the past I have made personal bird houses for each one of my family members (the bird houses looked like their actual houses).  I have made crafts boxes for the little members of my family and filled them with coloring books, crayons, markers, stickers and other things that they can play with. This coming week there is a very special birthday girl! So back to that question of what to buy? I bought a raw rocking chair. There was no paint on it and it needed some sanding done to it. After making it smooth with some putty and sand paper, I painted it over and over with white paint till it was evenly coated. Then, using a rubber stamp and black ink, I printed a paisley pattern on the seat of the chair. After I got the design correct I went over the black ink with different color acrylic paint. To finish it off, I painted her name on the top of the chair (this way her two other sisters won't steal it, hehe ). I hope she loves it!
Part Raw, Part White. The first stage of the project

In order to get all the spots of the chair you have to move and rotate the chair all around

Paisleys are painted!

Up close!

The Paisleys are pink, purple, and blue

Taa Daa!!!...almost just have to add a few details to the name

I added pink dots and blue line accents

Now it's all done!

9.23.2010

Glass Pumpkins

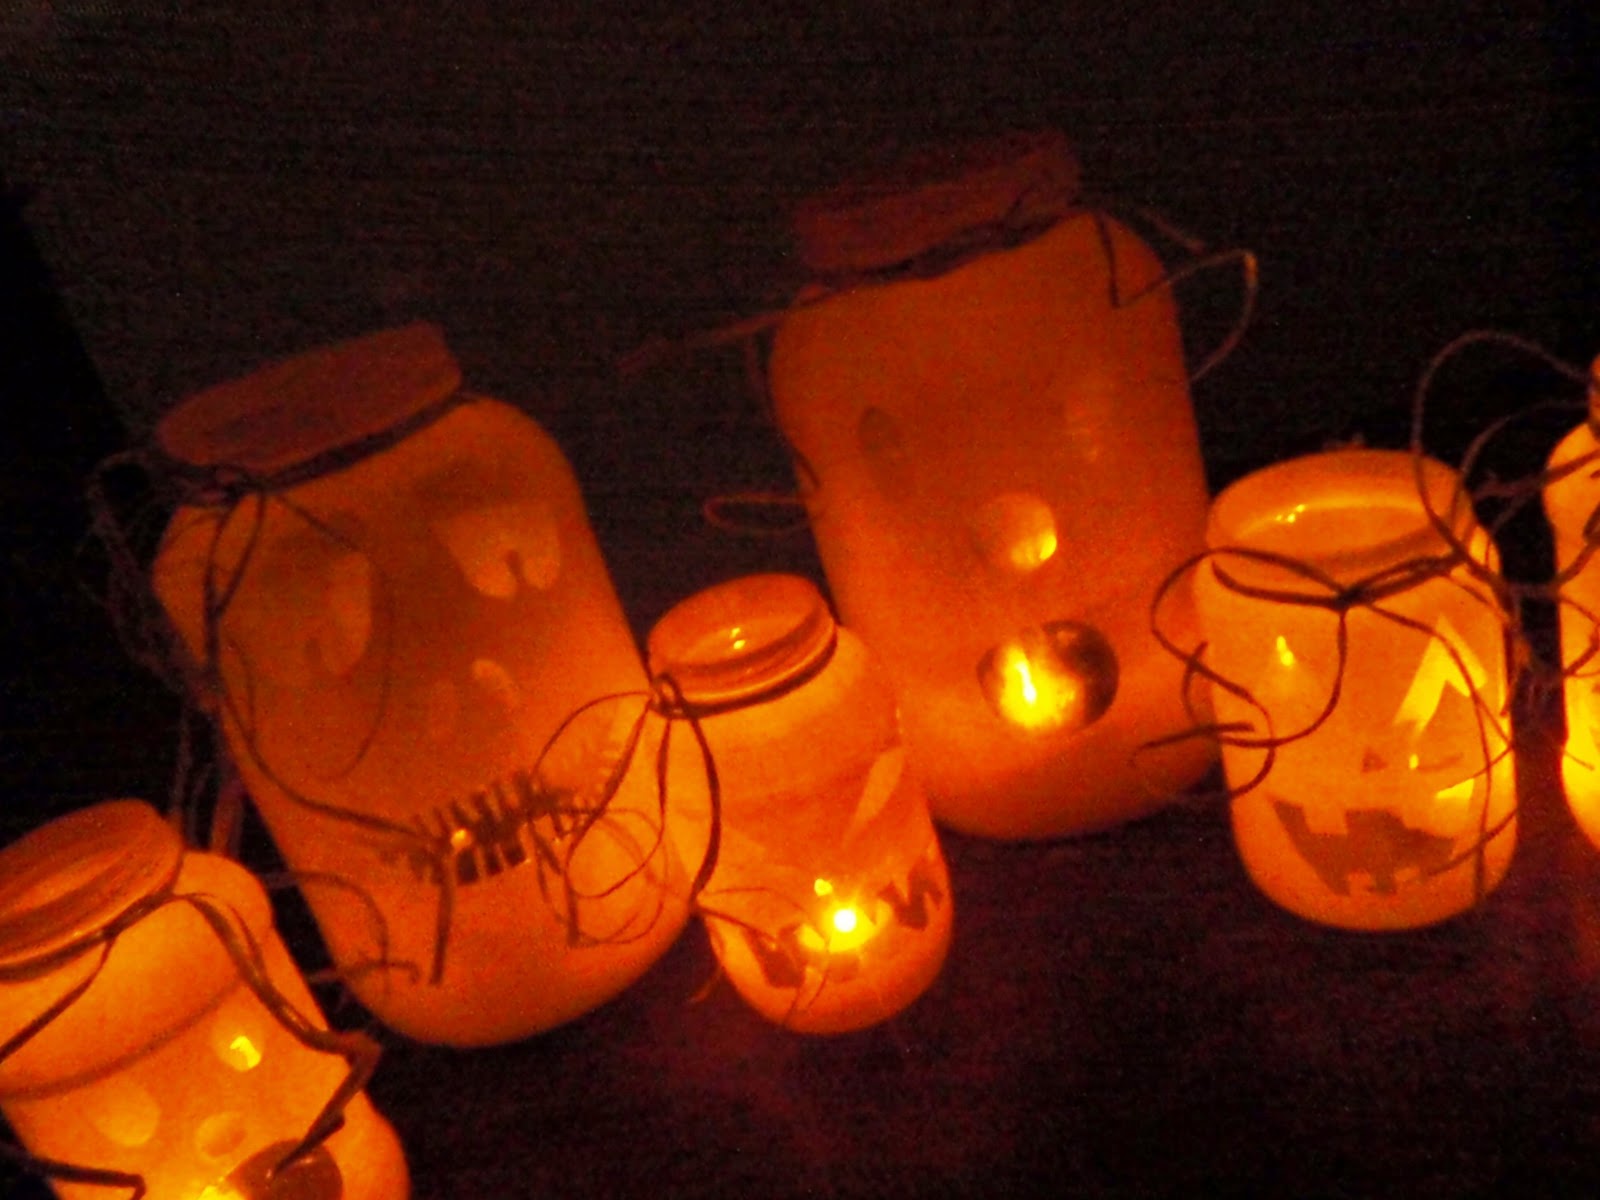
So I had this brilliant idea to take old glass jars and spray paint them to make them look like jack-o-lanterns. I am huge into recycling so I thought this was a good way to get some re-use out of glass jars. Using all different sizes and two different color spray paints I was able to create a little pumpkin patch! Unfortunately...I deleted all of my photos that I took of the process of making them. I was very disappointed and upset with my self for doing so. However it is not difficult to make them yourself! Using masking tape, simply cut out shapes that you want to be protected from the paint (such as the eye, nose, and mouth). After the tape is on the glass, spray away! Let dry for about 30 minutes, peel that tape away, and you have a master piece! To finish them I bought natural colored raffia to tie around the head of the jars. Taaa Daaa!
My Pumpkin Patch!

Spoookkkkyyy

Some are happy, Some are scary!


My Favorite One!

They're Versatile! I used it as a vase while I had sunflowers from my garden still! Great centerpiece for a Halloween party!