Baby Shower: April 2011

1.30.2011

Practicing Bouquets

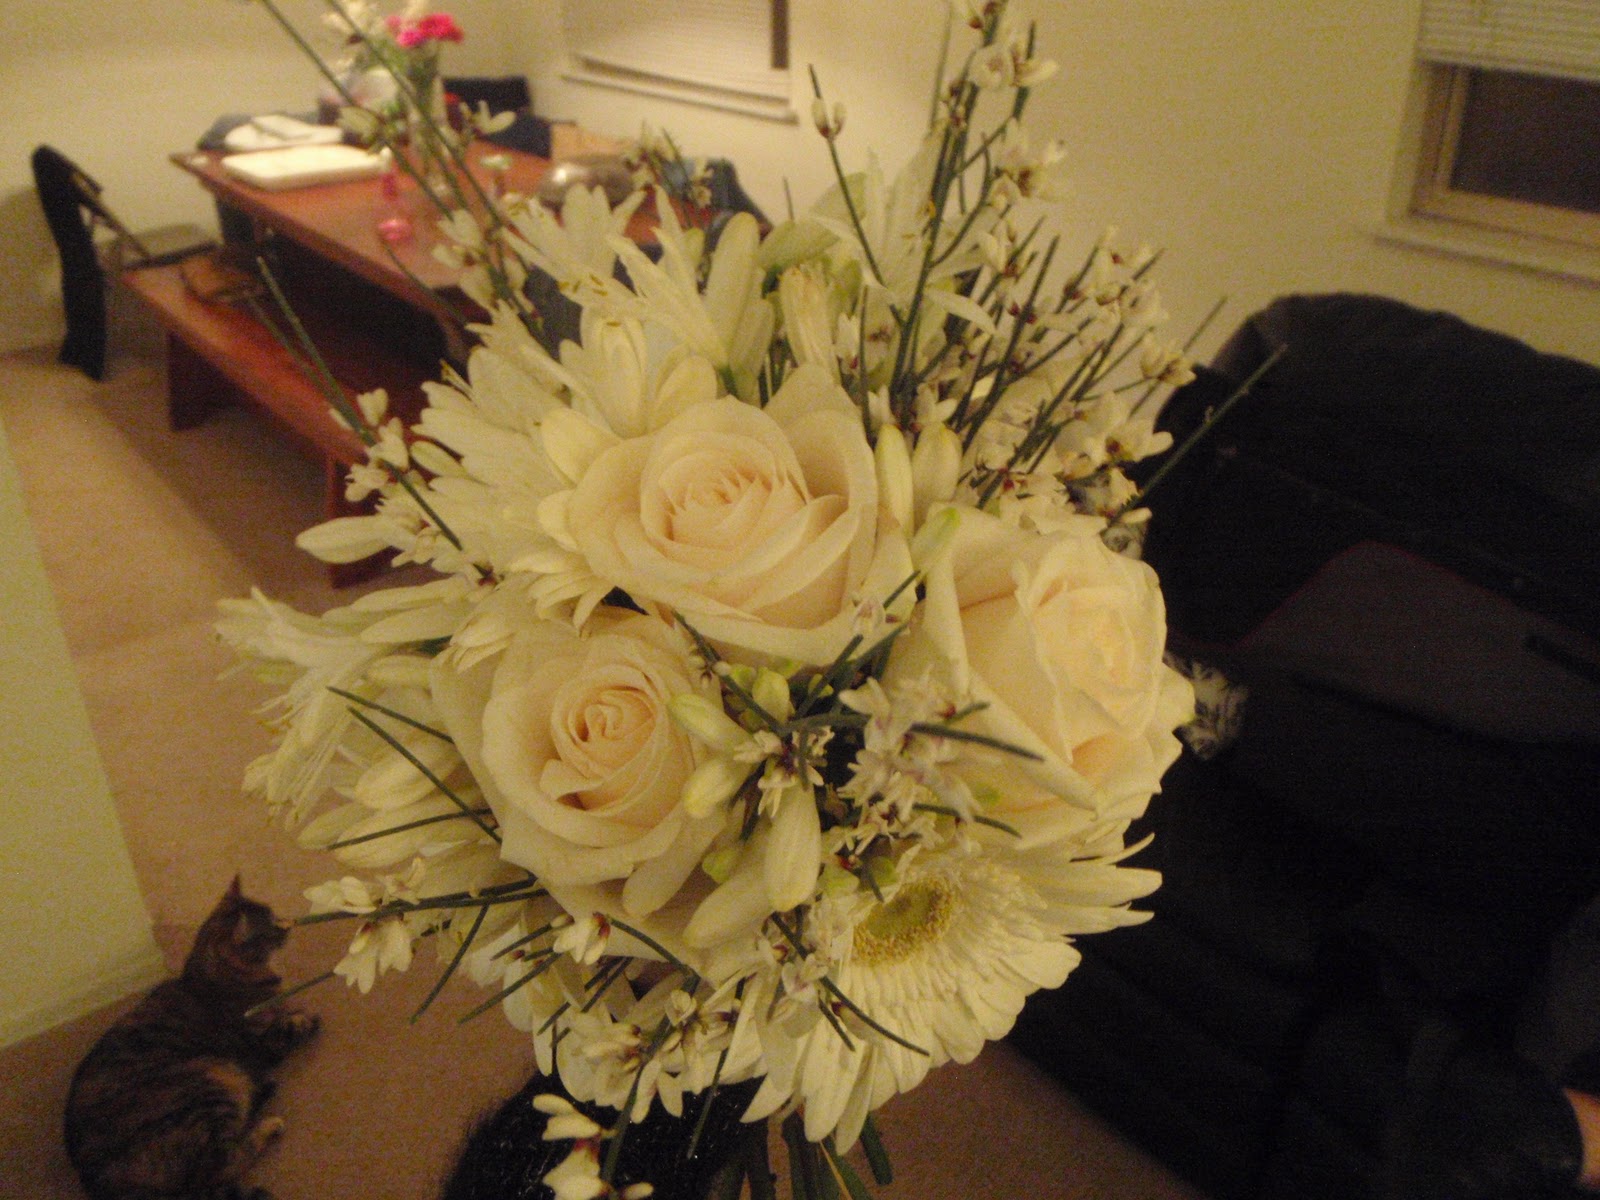
The other day was my birthday and I got a TON of flowers. They were all gorgeous but I couldn't resist 'playing' with them. So I decided to pick out certain flowers from each one of my arrangements and make a bridal bouquet. The size of the bouquet would more appropriately be for a bridesmaids. I decided to take all the white and off-white flowers to make a winter themed bouquet. There were white Gerber daisies, roses, two different small filler flowers.

Flowers from my parents.
I took out a few of the white flowers

23 roses from Dino! I used the white roses

Gerbers from my aunt and uncle.
I used the white Gerbers and small white fillers

Flowers to use for the bouquet

Stripping the roses

work in progress

Finished product. Not bad for one of the first
bouquets I have ever made.

Taping the stems together

Unfortunately one of the gerbers broke off
because I did not wire them


View of me holding it


I can't wait to make more bouquets! Maybe I'll make a pink one with the rest of the flowers! Stay tuned...

1.22.2011

Christmas 2010

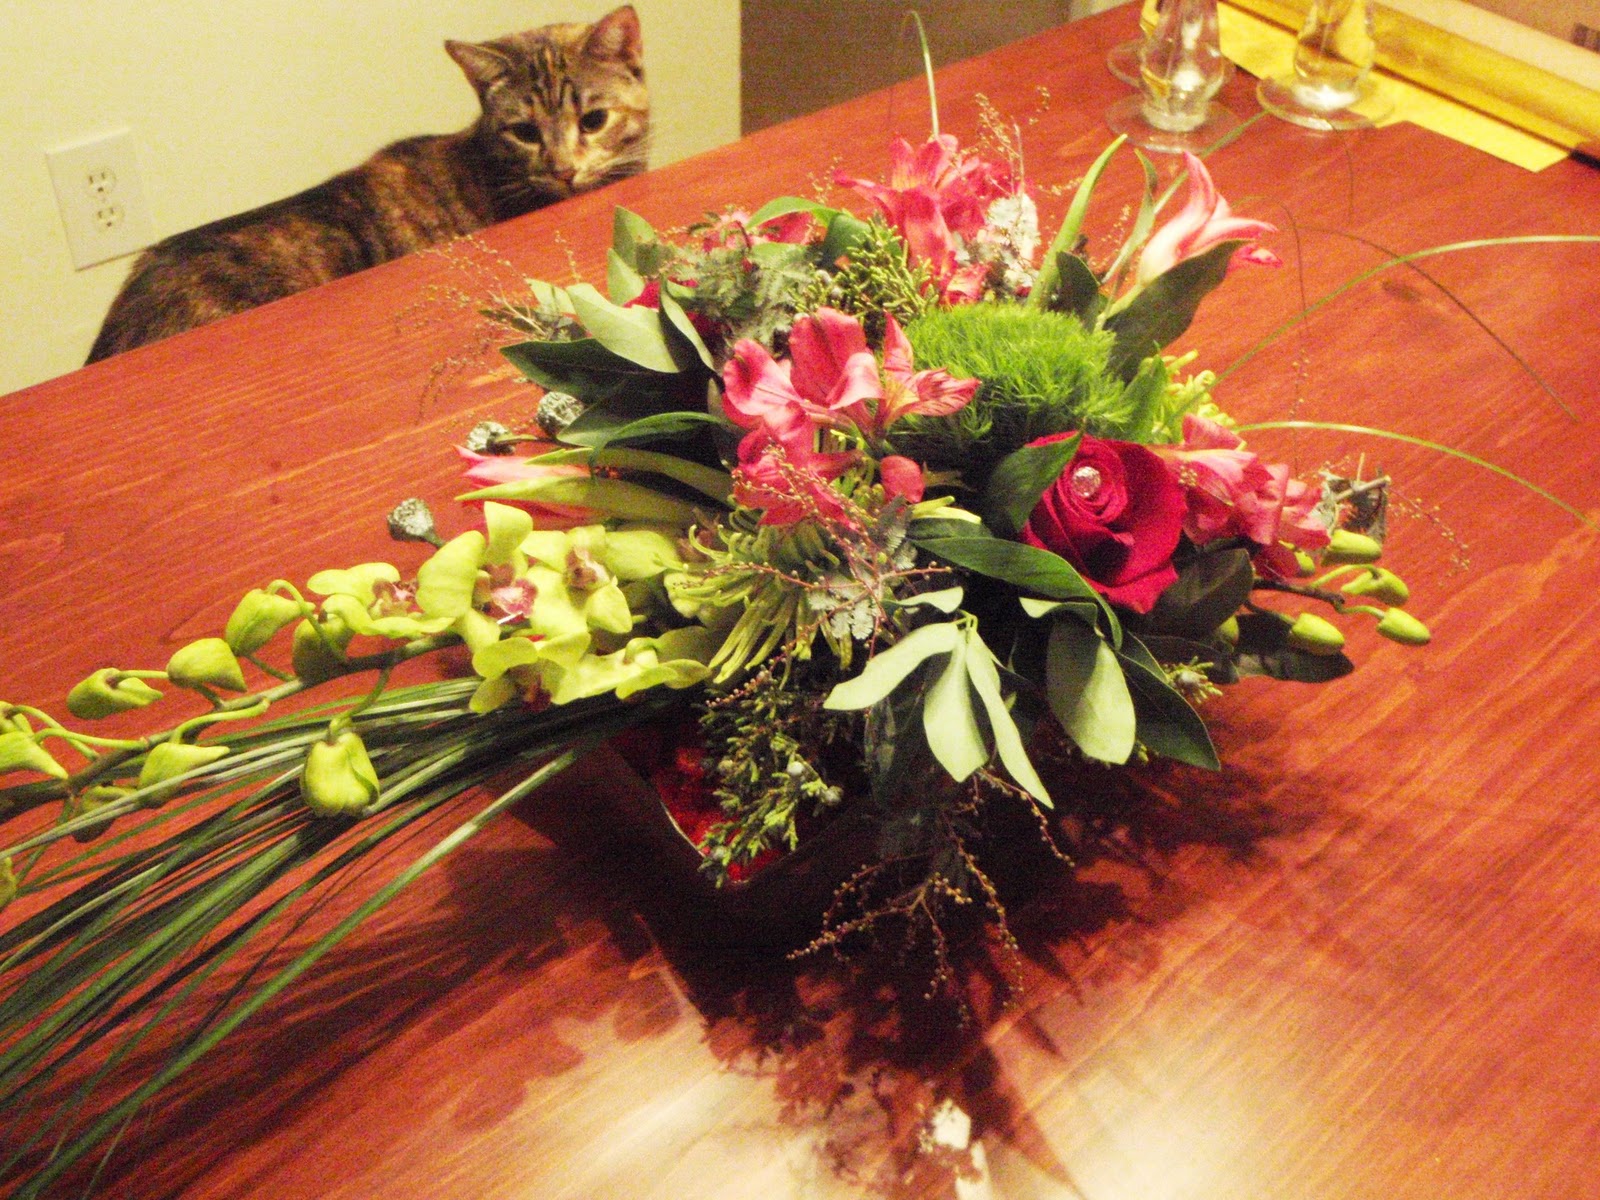
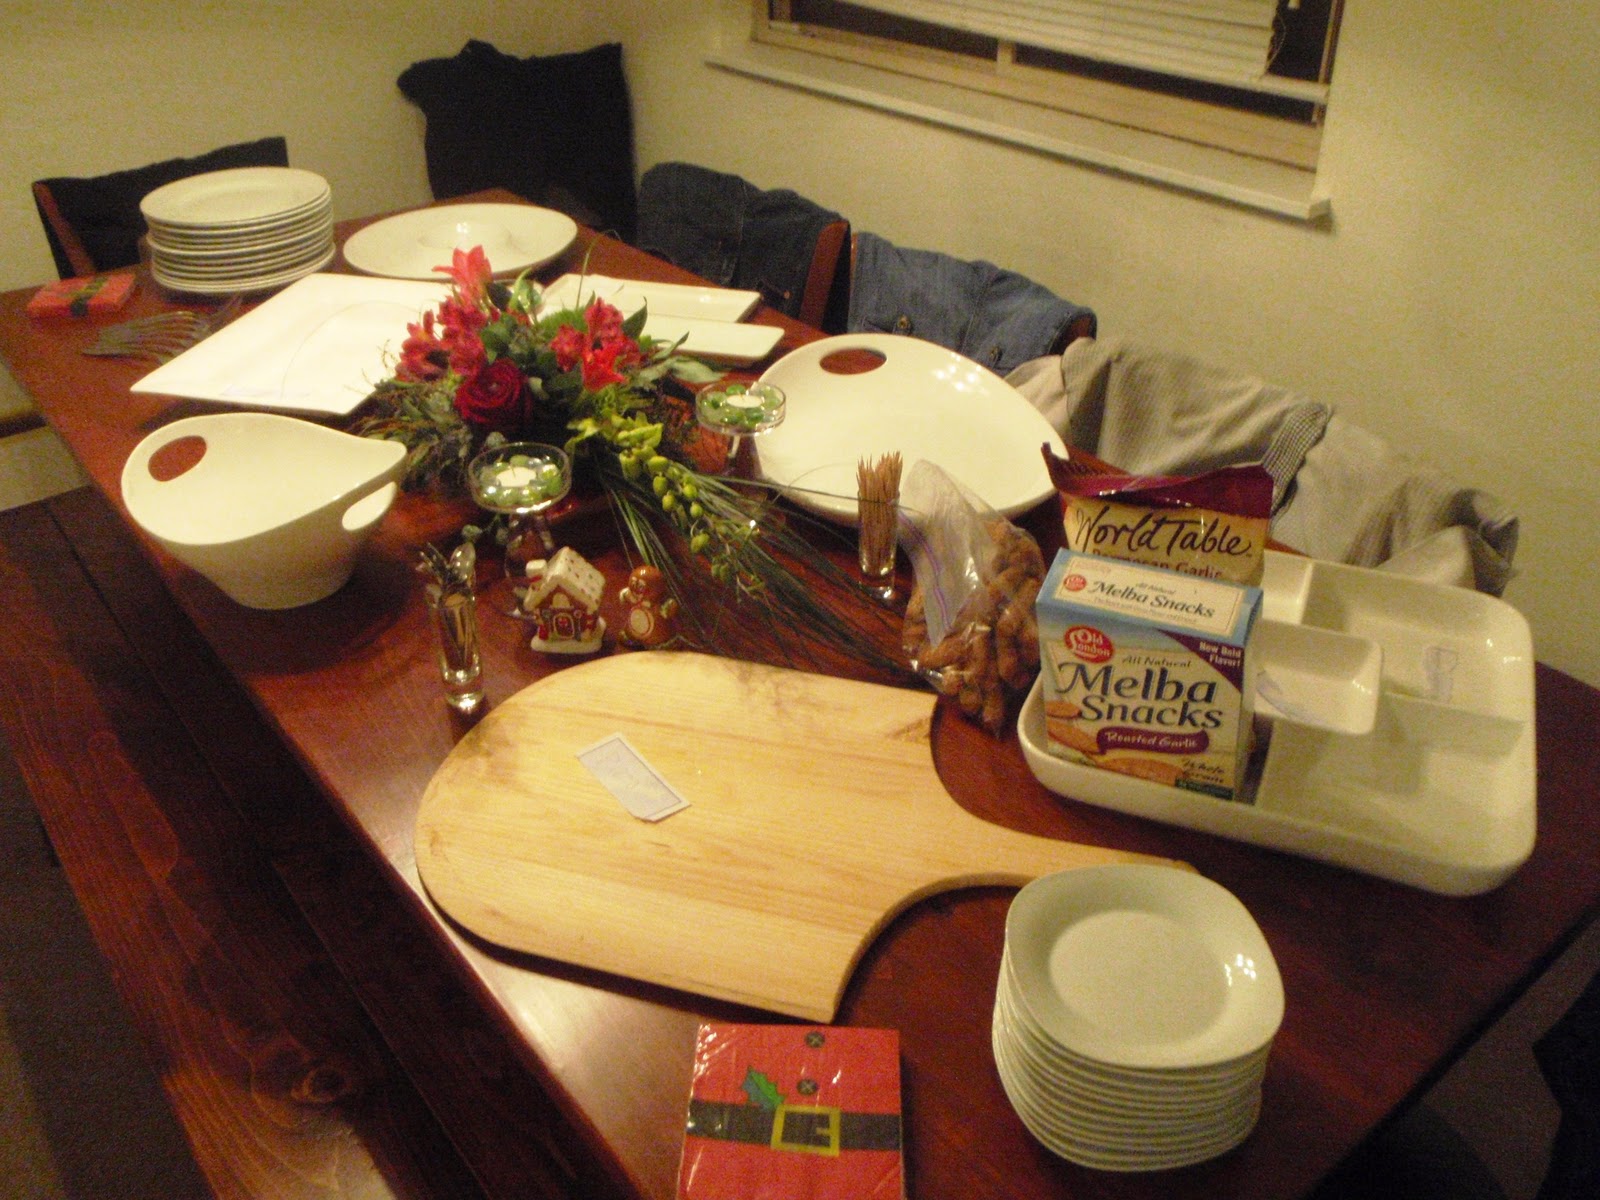
This is way over due. I hope everyone had a wonderful holiday and great new year. This year my boyfriend and I hosted Christmas eve. It was some what of a challenge since we both had to work until about an hour before ours guests were to arrive. Planning was key to getting everything cooked that I wanted to have. For each dish I made sure that I would not to use the same pot or pan to cook two different things. For the menu we decided on a few different choices. A cheese and meat board was created which allowed for food to be out the entire time while guests coming and did not use any dishes to cook them in. Oysters Rockefeller was prepped a head of time and broiled once everyone arrived. Mini pizza bagels were cooked using our pizza stone. Steamed clams were cooked on the stove top. Shrimp cocktail was also done in advance which helped us keep focus of food that needed to be cooked and kept warm. Finally the bacon wrapped scallops were prepped the day before and placed in the oven once everyone arrived. Everything came out great thanks to my helpful hand in the kitchen (Thank you Dino!) Another thing I did that helps get the food on the plate quickly is deciding and labeling ahead of time what food is going on which platter. I also lay out all of the platters on the table to make sure they fit correctly. To add to my table was a winter floral arrangement I made in a class I took. Sarah Lusardi is the owner of NY Engagements and teaches floral classes to people who are interested in learning how to arrange flowers. Mothers, daughter, and friends attended which made for a really fun night out. Hope you enjoy the pictures!


Ella LOVED the grass! I found it chewed up all over the apartment

Our tiny Christmas tree! Check out the handmade stocking I made a few years ago!

The table with all the platters. As you can see I made little signs where each food was suppose to go. And don't worry...The clothes were not there the night of!

12.23.2010

Homemade Stockings Made Easy

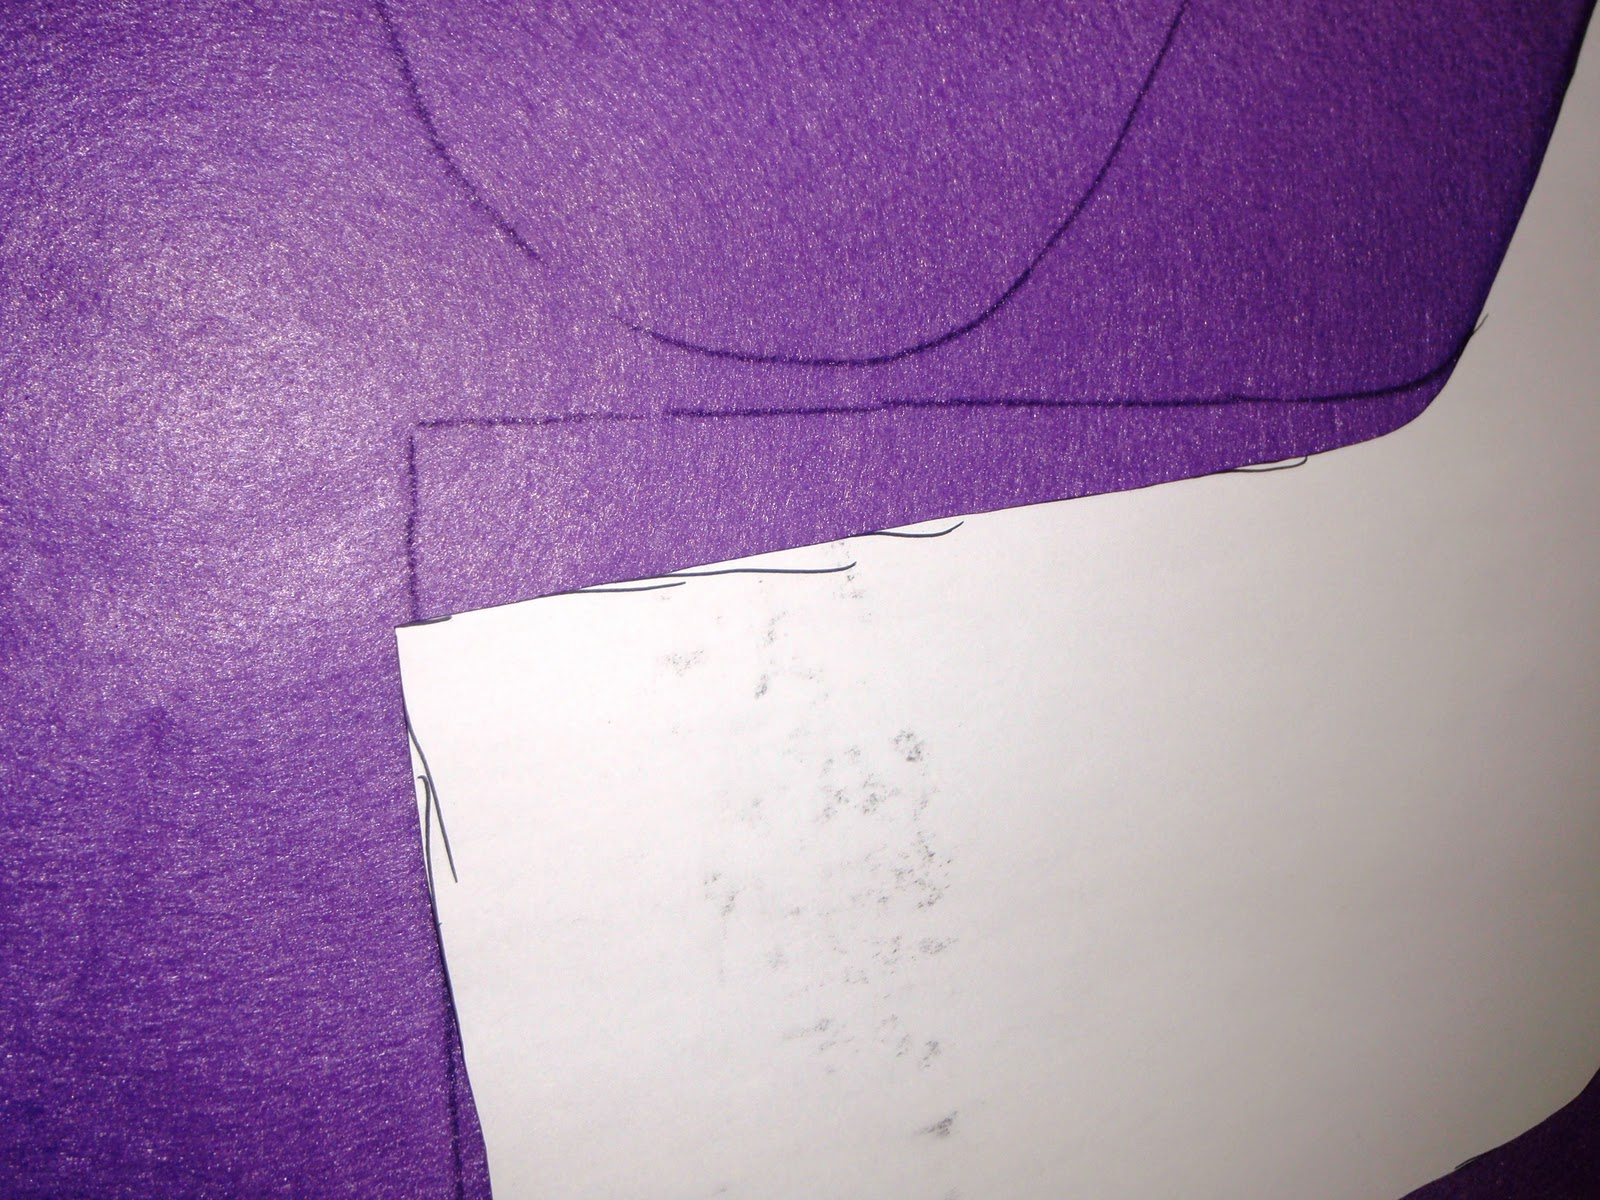
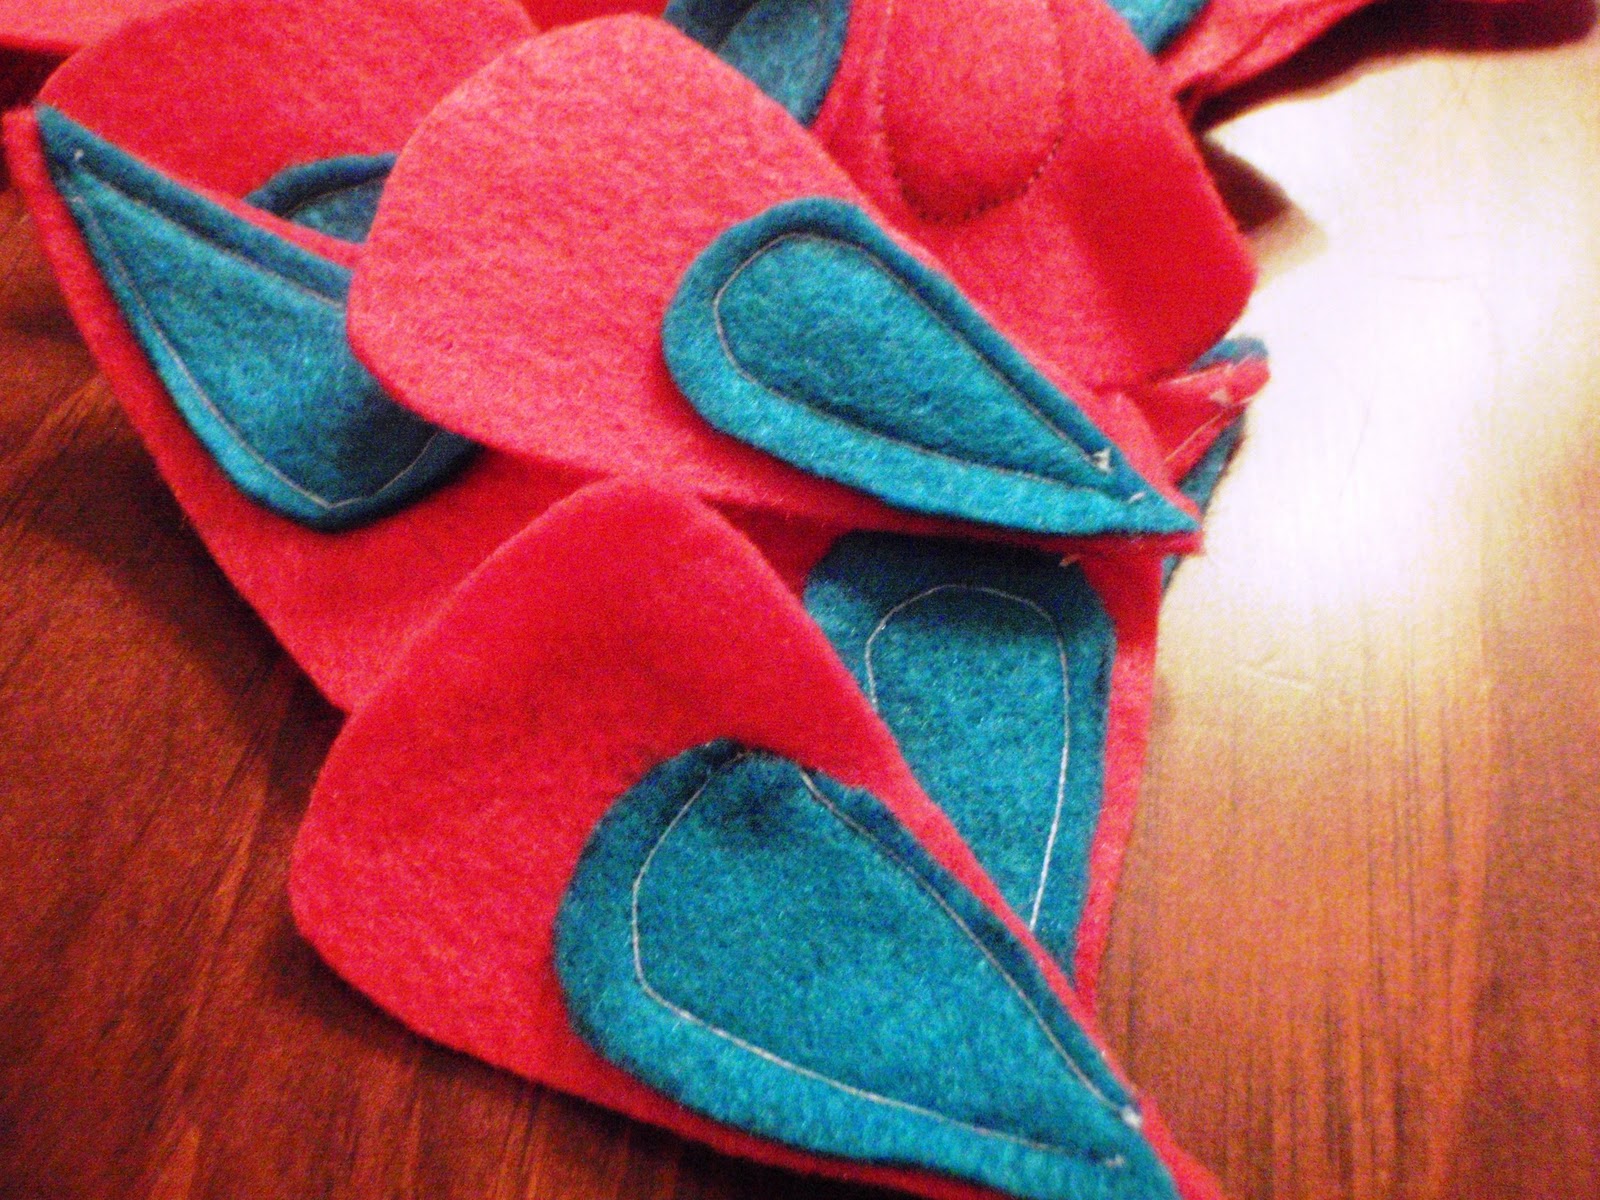
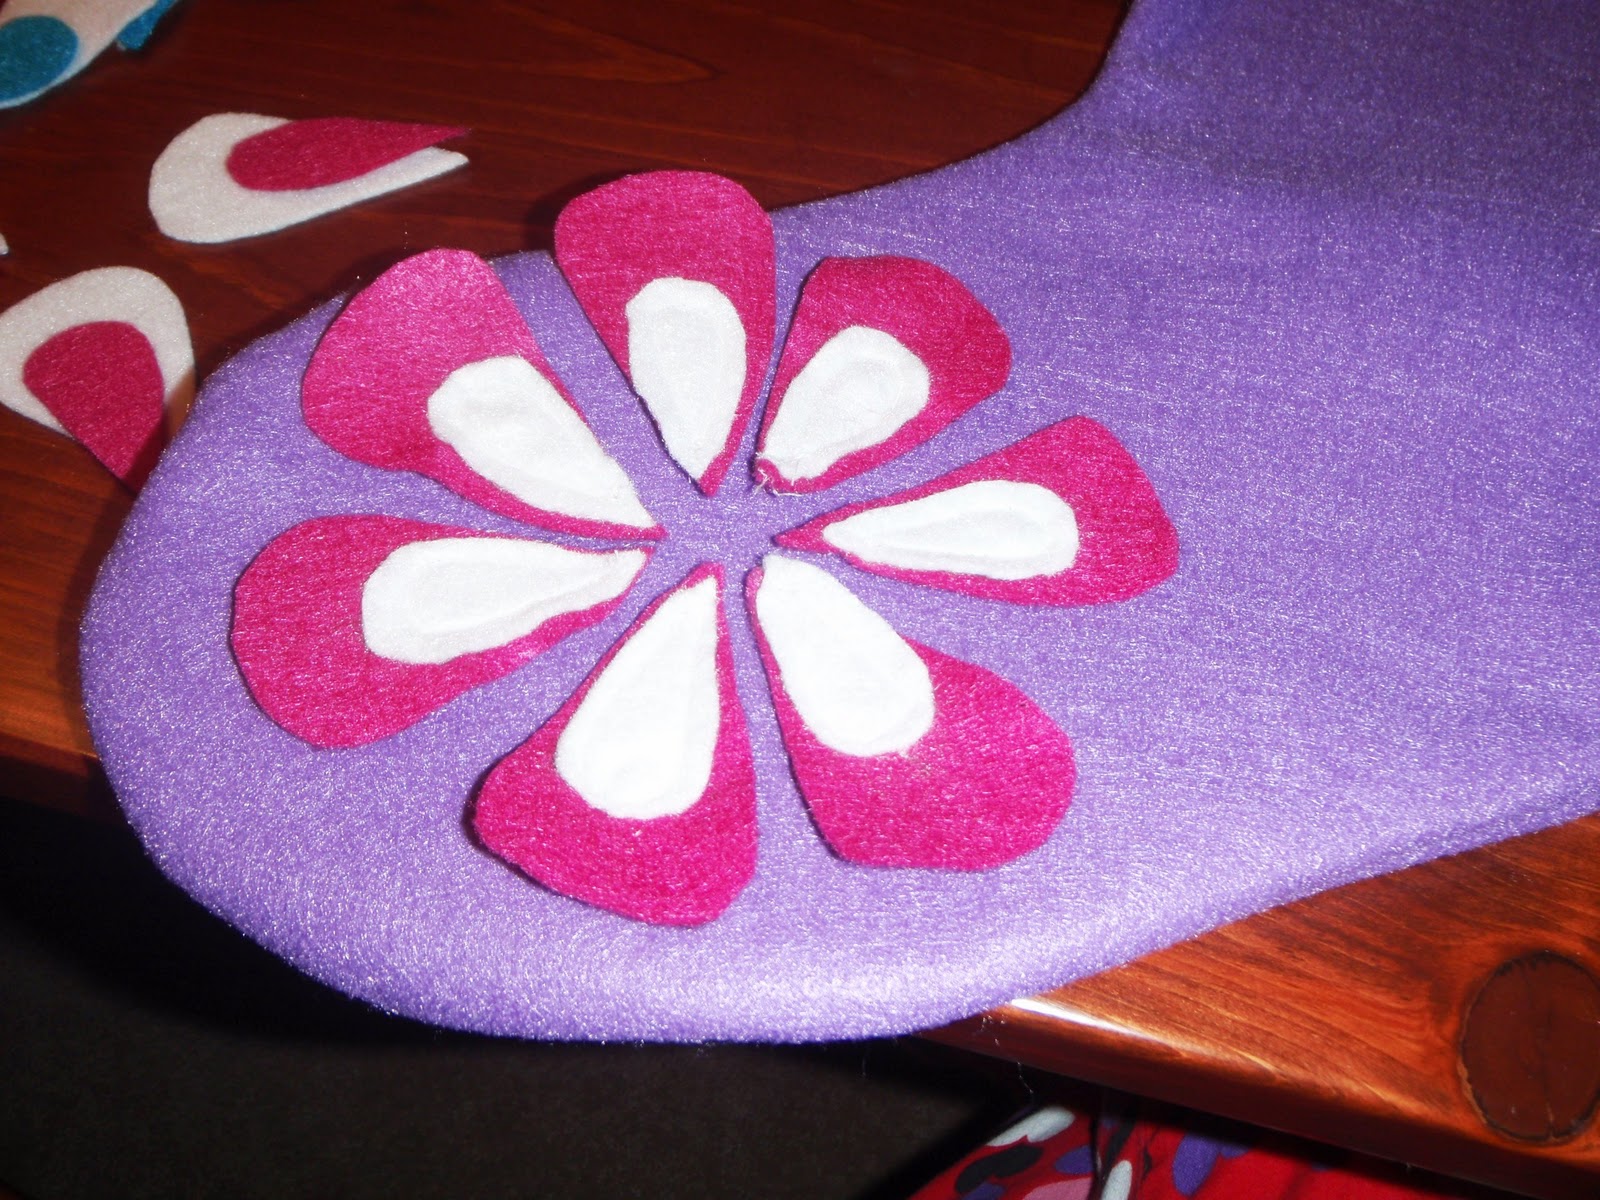
About three years ago I saw an idea to make homemade stocking from felt. Felt does not fray so it was a perfect choice of fabric to use since I was going to hand stitch the stocking together. The stocking I made came out really cute so I hang them up every year. This year I wanted to make over sized ones to put presents in. Since most felt paper comes in 8.5x11 I had to go to Joann Fabric to buy it by the yard. I made a template by just sketching the shape of a stocking on large paper till it looked right. Then I cut it out and traced it on the felt. After cutting all of them all out I sewed them together using a sewing machine which a heavy stitch so that it could take the weight of presents I was going to put in them. Once the stocking were complete it was time to decorate them! I decided to do flowers on them by creating colorful petals. Just like the template for the stocking, I drew a petal shape that I liked and then traced it over and over....and over on the felt and then cut it out. To add more dimension to the flowers, each petal got two different colors. I sewed the top petal to the bottom and then glued the entire petal onto the stocking. To finish it off I cut out the first initial of each girl that was going to get a stocking. They came out great! And since they are not traditional Christmas colors I figured they could be used year round to store items in. Hope you enjoy them Isabella, Sophia, Melina, Taylor, and Makenzie!

The template with one of the stockings already traced


Each flower had a different color combination

This was the pile of petals that were sewed together


Sewing the big petal to the little petal

Sewing the stocking together. Once you sew around the edges you turn it inside out to reveal the nice edge

First lay out the petals to create the look the flower before gluing it on

Make sure to put lots of glue!

And press down firmly

Taa Daa!!

This is me holding it up since in the previous picture it has an odd shape

12.03.2010

Thanksgiving 2010

This year I had a little more time to put into the decor of our Thanksgiving day table. First I made the place mats that I have previously posted how to make. Then I decided I was going to do gourds lining the table with candles in them. I used my grandfathers drill with a 1 1/2 drill bit on it. I learned the hard way, literally, that some gourds are harder then others which meant it was not easy to drill holes in all of them. I actually split two of them right in half! In the end the table looked awesome. Here are the pictures...Hope you enjoy!

The first set of pumpkins I drilled

Make sure you do this outside because the guts go flying everywhere!

My grandfathers thumb kept getting in the way lol!

This was the easiest to drill. Its a Cheese Pumpkin! and the inside is the prettiest color!


Add caption
 I am really dissappointed how these pictures won't go the correct way! When I figure out how to fix it I will. Hope you enjoyed the table....upside down, right side up...